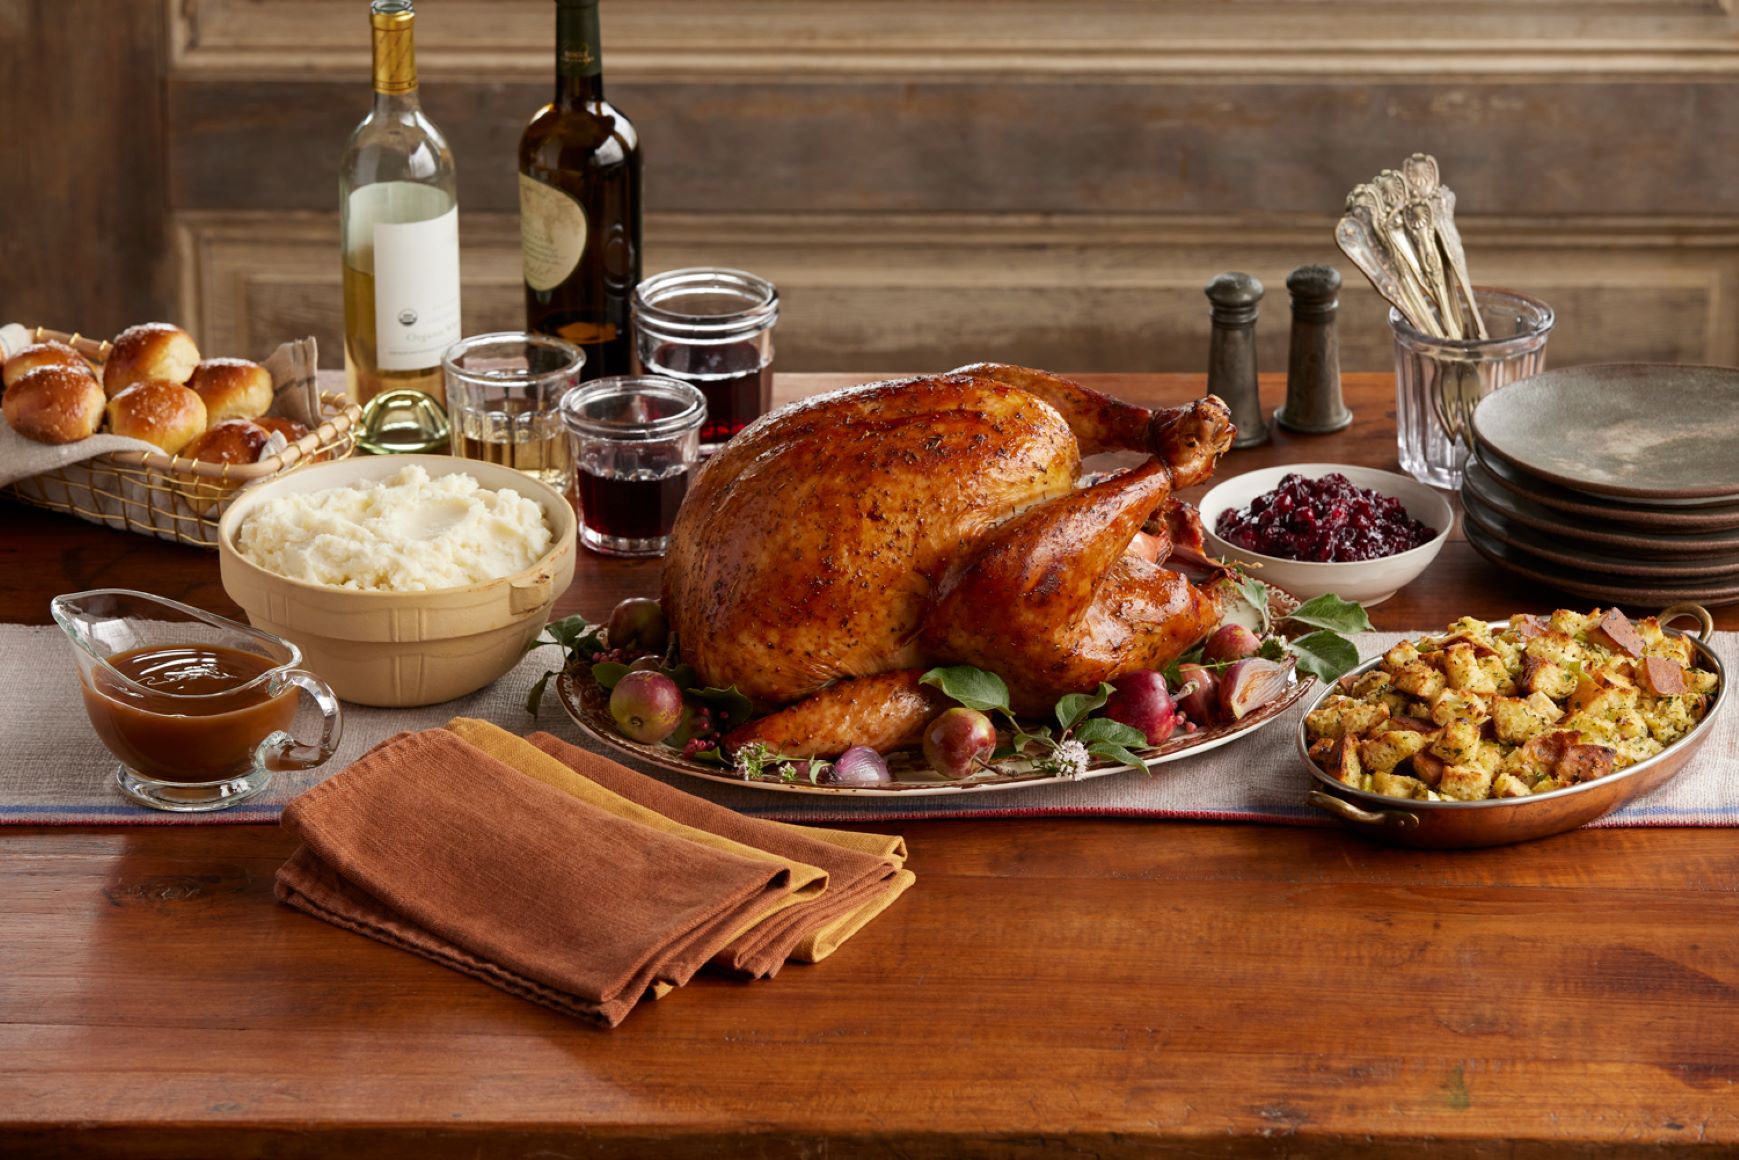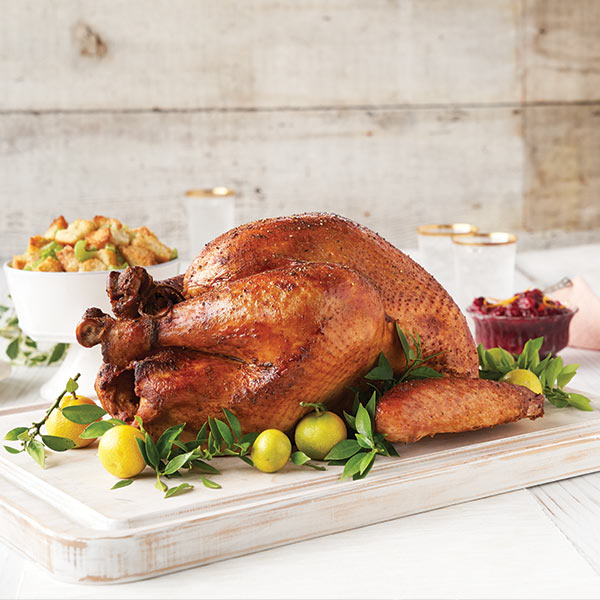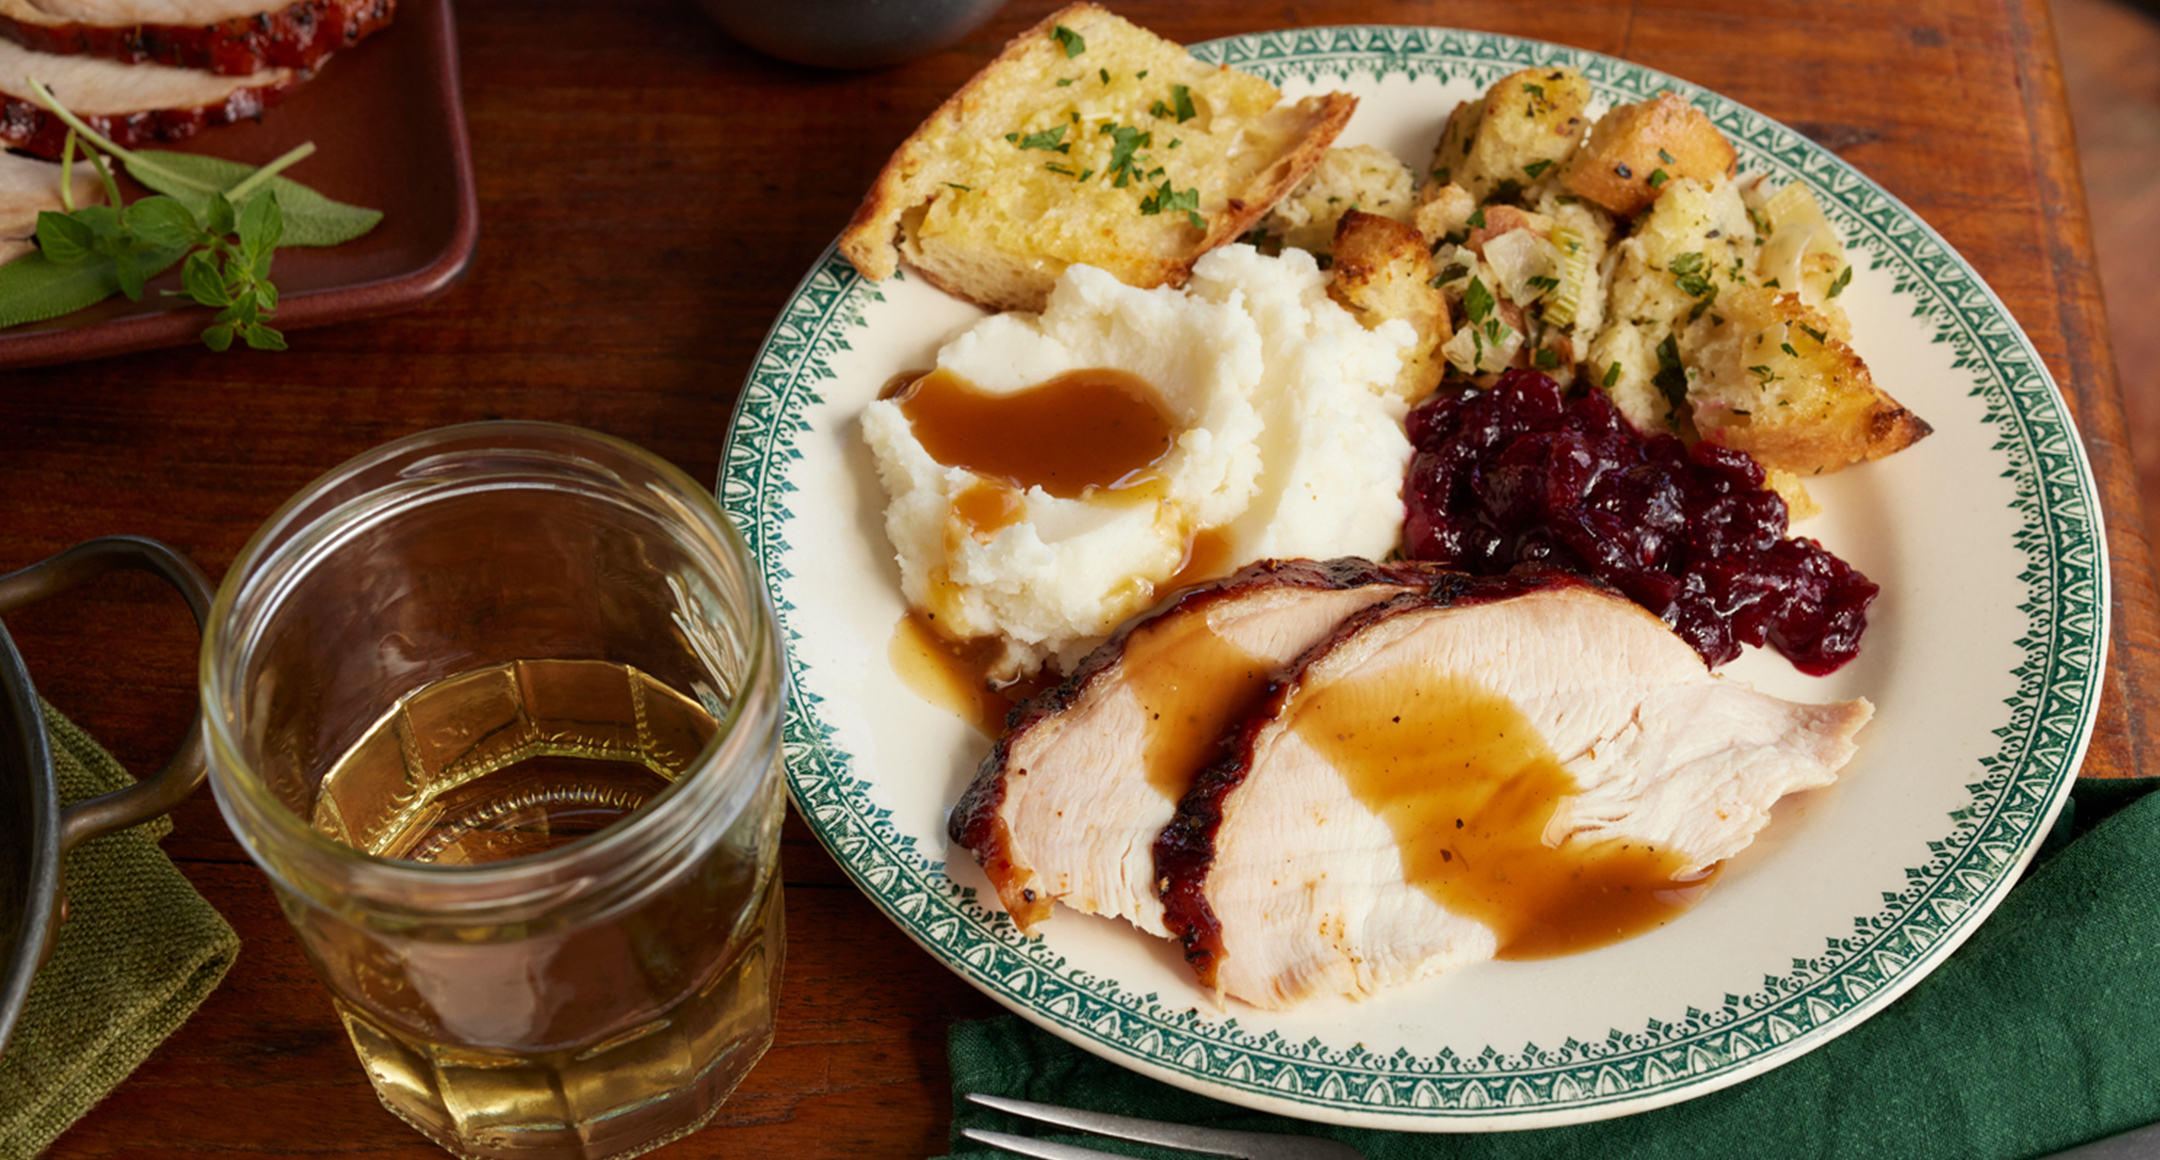
What is Brining? Brining, or soaking a piece of meat in salty seasoned water, is a way to inject both flavor and moisture at the same time and result in a delicious roasted turkey. Traditional brining can be a real hassle, from wrestling a massive turkey in water, to carving out a space in the already packed refrigerator. That is why we love to dry brine! Dry brining works by the salt-heavy seasoning drawing the meat juices out through osmosis. The salt then dissolves into the juices, creating a "natural" brine without any added liquid. Finally, this brine is reabsorbed into the meat and begins to break down tough muscle proteins, resulting in juicy, tender, seasoned meat.
No Special Equipment Needed Dry-brining can be done on anything big enough to hold the turkey, such as a roasting pan or sheet pan. Grab an extra roasting bag and keep your turkey covered in the fridge. Yes to crispy skin! The turkey sits uncovered in the fridge while sitting in its dry brine. This can seem very off putting (raw turkey, yikes!), but it helps to dry out the skin, which in turn cooks up incredibly crispy, golden-brown skin on the roasted bird. Keep your fridge food safe by placing the turkey in a brine or roasting bag or loosely tenting with foil or plastic wrap.
Brining is for All Cuts It doesn't matter if you have a whole turkey, a bone-in turkey breast or a spatchcocked (or butterflied) turkey, the brining process is the same.
This recipe is for a 20 lb turkey.
Seasoning It's best to separate the skin from the meat so that you can rub some of the brine directly on top of the meat—just sprinkling the brine on the skin doesn't really allow for its full potential. It is also important to put more dry brine on the turkey breast, which is much thicker than the legs—just think of it in proportions.
Plan Ahead Brining needs adequate time in order to be effective, so the thicker the piece of meat, the more time you want to give it so that the salt has enough time to work its way down from the surface. Although you can cook a dry-brined turkey after eight hours of brining, 24 hours results in an even tastier bird. You can brine your bird for up to three days. When ready to cook remove the turkey from the brine and pat dry with paper towels to ensure that beautifully crispy skin.
-
Serving Size
10
-
Cook Time
3 hours 30 minutes
-
Total Time
13 hours
Ingredients
Dry Brine:
1 cup kosher salt (recommend Diamond brand)
1/4 cup brown sugar
1 teaspoon fresh ground black pepper
2 teaspoons dried thyme
2 teaspoons dried sage
Roasted Turkey :
Instant-read thermometer
20 pound turkey, patted dry
2 rinsed carrots, cut into 1 inch pieces
2 stalks rinsed celery, cut into 1 inch pieces
2 yellow onions, peeled
1 stick butter, melted
1 teaspoon fresh ground pepper
1 teaspoon ground sage
1 teaspoon dried thyme
1/2 teaspoon paprika
Directions
-
Prepare the turkey; unwrap the turkey and remove the neck and giblets (be sure to reserve these if you are making your own gravy). Pat turkey dry with paper towels.
-
Prepare the dry brine. Combine salt, sugar, pepper and herbs in a bowl and mix well. Rub all over the turkey, under the skin and inside the cavity.
-
Place turkey in brining or roasting bag (or plastic wrap) on a rimmed baking sheet and refrigerate at least 8 hours or overnight.
-
Preheat oven to 325°F. One hour prior to cooking, remove bird from refrigerator, if wet brined, pat dry with paper towels. Tuck wings behind back.
-
Scatter vegetables on the bottom of an open roasting pan. Place turkey on top of the vegetables, breast side up.
-
Mix pepper and herbs into the melted butter and brush herb butter all over the bird and under the skin of the breast.
-
Place in preheated oven and roast approximately 15 minutes per pound. There is no need to turn the bird or baste it. The less you open the oven door, the better. Optional: For delicious gravy, pour 2 cups of wine over the bird after 2 hours of roasting!
-
If you're roasting a 20 lb turkey, start testing for doneness with your thermometer after 3 hours. The total roasting time should be approximately 3 ½ hours. If the skin is getting too dark, place a piece of foil over the breast for the remainder of the cooking time. Cook until internal temperature of the bird at the thickest part of the thigh reaches 165°F (avoid touching the bone for a proper reading).
-
Once bird reaches the proper temperature, remove it from oven, and place on platter. Tent with foil and let rest for 15 to 30 minutes before carving.

